Android Recovery Mode: Access, Functions & Flashing Guide (Stock vs. Custom)

What is Android Recovery Mode?
Android Recovery Mode is an independent, lightweight, bootable partition on your Android device's storage. It runs separately from the main Android operating system. This runtime environment allows you to perform several system-level tasks that can help troubleshoot issues, apply updates, or restore your device without needing to fully boot into Android.
Think of it as a mini-OS with specific maintenance tools. You typically navigate Recovery Mode using the device's physical hardware keys (Volume Up, Volume Down, and Power), as touch input is often not supported in basic stock recovery environments (though custom recoveries like TWRP usually support touch).
Key Differences: Stock Recovery vs. Custom Recovery
It's vital to understand that there are two main types of Recovery Mode:
- Stock Recovery: This is the official recovery environment pre-installed by your device manufacturer. Its functionality is usually limited to:
- Rebooting the system.
- Applying updates from ADB (Android Debug Bridge).
- Applying updates from an SD card (typically for official OTA update packages in
.zipformat, signed by the manufacturer). - Wiping data/factory reset (erases all user data and settings).
- Wiping the cache partition (clears temporary system files).
- Mounting system partitions (for advanced users via ADB).
- Custom Recovery (e.g., TWRP, CWM): This is a third-party recovery environment that replaces the stock recovery. Custom recoveries offer significantly more features, including:
- All features of stock recovery.
- Installing (flashing) custom ROMs (modified Android operating systems).
- Flashing custom kernels, mods, themes, and other
.zippackages. - Creating and restoring full Nandroid backups (complete snapshots of your device's system).
- Advanced partition wiping and formatting options.
- File manager access to device storage.
- Usually supports touch input.

How to Boot into Recovery Mode
The method to enter Recovery Mode varies significantly between device manufacturers and even specific models. There's no single universal key combination. Generally, it involves:
- Powering off your Android device completely.
- Pressing and holding a specific combination of hardware keys simultaneously.
Common (but not universal) Key Combinations by Brand (Always Verify for Your Specific Model!):
- Samsung: Often Power + Volume Up + Home Button (older models) or Power + Volume Up + Bixby Button (some newer models). Some very new models might use Power + Volume Up after connecting to a PC or another device via USB.
- Google Pixel/Nexus: Usually Power + Volume Down (to enter Bootloader/Fastboot mode), then use Volume keys to navigate to "Recovery mode" and Power to select.
- OnePlus: Power + Volume Down.
- Xiaomi (Redmi/Poco): Power + Volume Up.
- LG: Power + Volume Down. Release Power briefly when the LG logo appears, then immediately press and hold Power again (while still holding Volume Down).
- Motorola: Power + Volume Down (often to Bootloader, then select Recovery).
The best way to find the correct key combination for your device is to search online: "How to boot [Your Exact Device Model] into Recovery Mode".
Once you enter recovery, you'll navigate using Volume Up/Down to highlight options and the Power button to select/confirm.
Important Notes Before Using Recovery Mode Functions
- Backup Your Data:** Performing a "Wipe data/factory reset" will erase ALL user data. If you plan to flash files, especially with custom recovery, unforeseen issues can occur. Back up important data if possible.
- Battery Charge:** Ensure your device has at least 50% battery before performing significant operations like flashing or factory resetting.
- Understand the Options:** Be sure you know what each option does before selecting it. Wiping data is irreversible.
Flashing Files (e.g., Updates, Custom ROMs) from Recovery Mode
The ability to flash .zip files from Recovery Mode largely depends on whether you are using Stock Recovery or a Custom Recovery.
Using Stock Recovery to Apply Updates:
- Download the Official Update Package:** This must be an official OTA (Over-The-Air) update
.zipfile specifically designed for your device model and current firmware version, and it must be signed by the manufacturer. Generic ROM zips will not work. - Copy to SD Card/Internal Storage:** Place the downloaded
.zipfile onto the root directory of your device's external SD card (preferred) or internal storage. - Boot into Stock Recovery Mode (as described above).
- Select "Apply update from SD card" (or similar wording like "Apply update from external storage"). Use Volume keys to navigate and Power to select.
- Locate and Select the ZIP File:** Navigate to the
.zipfile you copied and select it. - Confirm Installation:** The recovery will verify the package and begin the installation.
- Wait and Reboot:** Once complete, select "Reboot system now".
Using Custom Recovery (e.g., TWRP) to Flash ZIPs (Custom ROMs, Mods, etc.):
Custom recoveries like TWRP offer much more flexibility for flashing.
- Download the Correct ZIP File:** This could be a custom ROM, Magisk (for root), a mod, or a compatible stock ROM repackaged for custom recovery. Ensure the file is compatible with your specific device model.
- Copy to Device Storage or SD Card:** Transfer the downloaded
.zipfile to your device. - Boot into Custom Recovery Mode (e.g., TWRP).
- Backup (Highly Recommended):** Before flashing anything significant, create a Nandroid backup using the "Backup" option in TWRP. This allows you to restore your system if something goes wrong.
- Wipe (If Required):** If flashing a new custom ROM, you'll usually need to wipe certain partitions. This typically involves:
- Tapping "Wipe" in TWRP.
- Often "Advanced Wipe" and selecting Dalvik/ART Cache, System, Data, and Cache. (Do NOT wipe Internal Storage unless you intend to and have backed it up). Swiping to confirm.
- Consult the specific instructions for the ROM you are flashing.
- Install the ZIP:**
- Go back to the main TWRP menu and tap "Install".
- Navigate to and select the
.zipfile you want to flash. - You might have options to "Add more Zips" (for flashing multiple files like a ROM then GApps).
- "Swipe to confirm Flash".
- Wipe Cache/Dalvik (Optional but often recommended):** After flashing, you might want to tap "Wipe cache/dalvik" before rebooting.
- Reboot System:** Tap "Reboot System". The first boot into a new ROM can take several minutes.
Conclusion
Android Recovery Mode is a powerful tool for system maintenance and modification. Understanding the difference between stock and custom recovery is key to knowing what operations you can perform. While stock recovery is useful for official updates and factory resets, custom recoveries like TWRP unlock a much wider range of possibilities for advanced users, including flashing custom ROMs and creating full system backups. Always proceed with caution, ensure you have the correct files for your device, and back up important data before making significant changes via Recovery Mode.
Related Posts

SP Flash Tool for MediaTek: Download & Firmware Flashing Guide
Learn everything about SP Flash Tool for MediaTek devices. Download the tool, understand prerequisites, install drivers, and follow our detailed, safe guide to flash Stock ROM, custom recovery, or unbrick your Android phone. Includes essential warnings and troubleshooting tips.
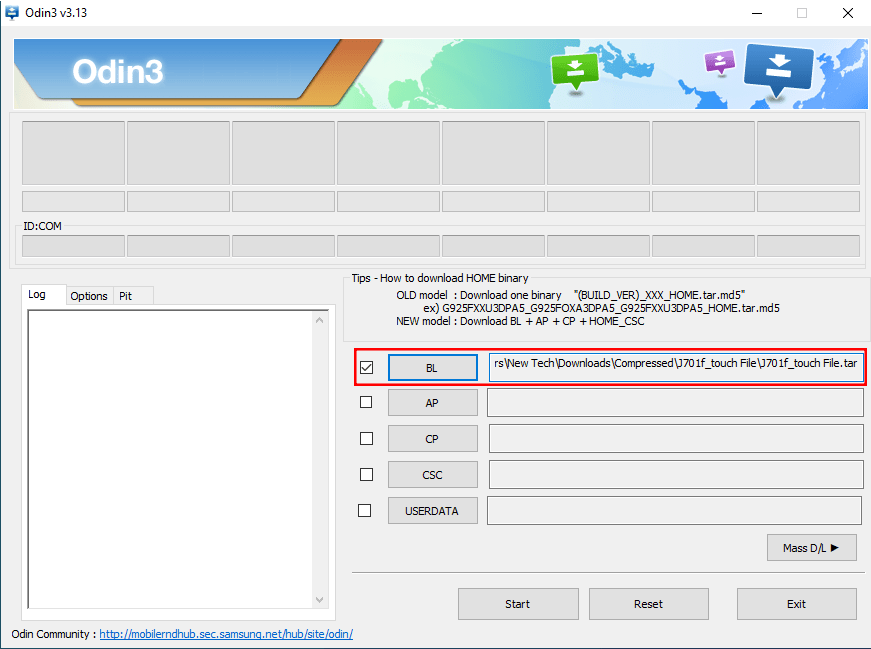
Samsung J7 Nxt (J701) Touch Not Working? Repair File & Flashing Guide
Fix touchscreen issues on your Samsung Galaxy J7 Nxt (J701F/M/G) after screen replacement or update using a specific repair file and Odin. Download the file, install drivers, and follow the flashing guide. Important warnings included.
Windows 10 Version 1909 (November 2019 Update): Features & Overview
A look back at the features and changes introduced in Windows 10 version 1909, also known as the November 2019 Update (19H2). Learn about notification enhancements, calendar quick-creation, and File Explorer updates from this past release.
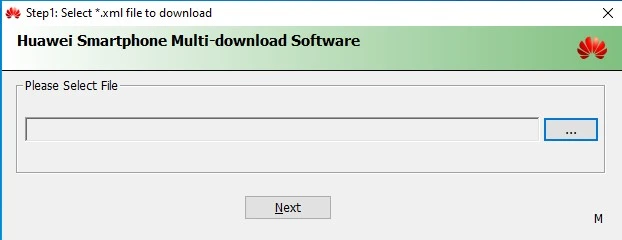
Huawei Smartphone Multi-Download Tool: Guide to Flashing XML Firmware
Learn about the Huawei Smartphone Multi-Download Tool for flashing stock firmware (often XML-based) on Huawei smartphones and tablets. Understand its usage, prerequisites like Huawei drivers, and the general flashing process.
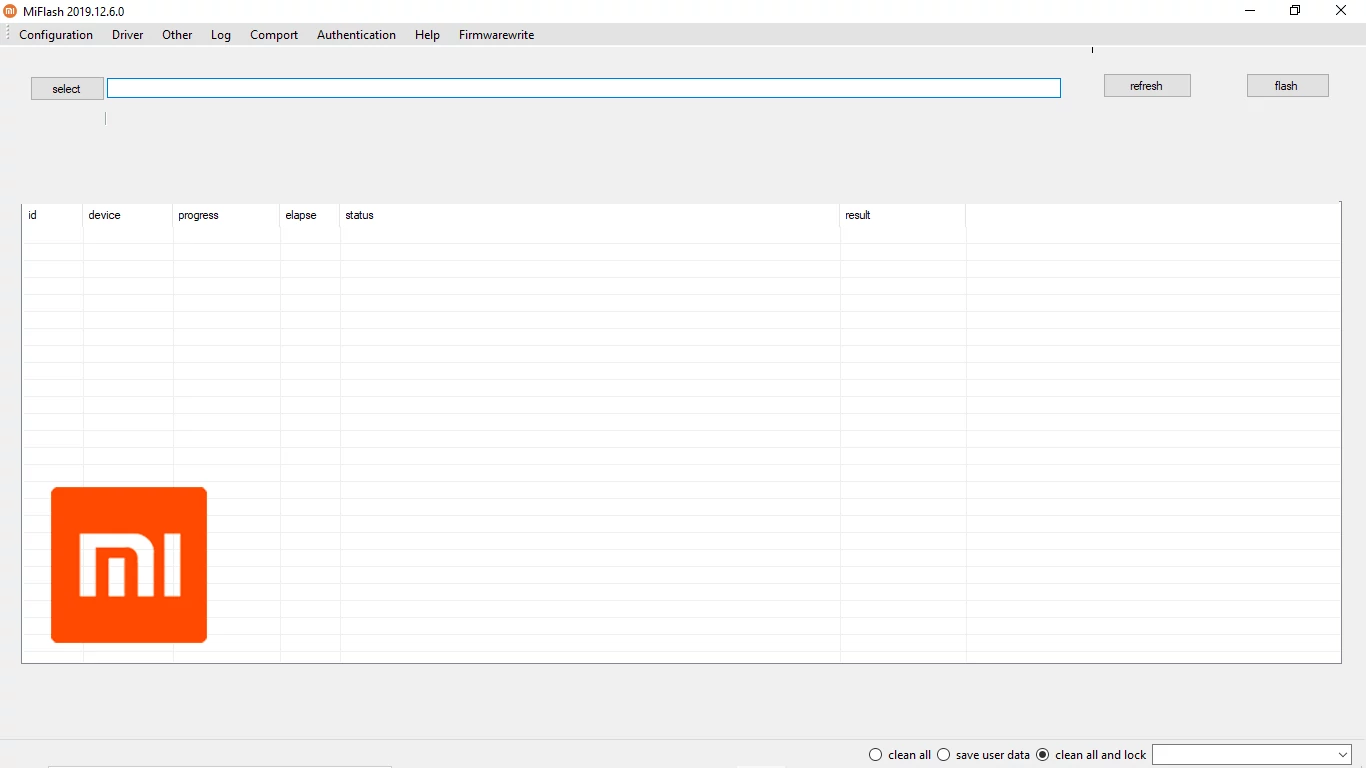
Xiaomi Mi Flash Tool: The Official Guide to Flashing Fastboot ROMs
Learn how to use the official Xiaomi Mi Flash Tool to flash Fastboot ROMs (.tgz packages) on Xiaomi, Redmi, and POCO devices. Understand Fastboot mode, built-in drivers, flashing options (clean all, save user data, clean all and lock), and bootloader unlock prerequisites.
How to Use Samsung Odin: The Complete Firmware Flashing Guide
Learn how to safely flash stock firmware (.tar.md5 files) on Samsung Galaxy devices using the Odin tool. Download Odin, install drivers, enter Download Mode, and follow step-by-step instructions. Includes crucial warnings and tips.